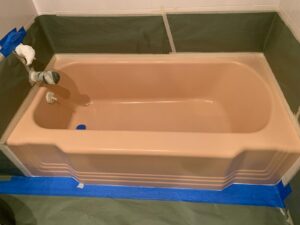
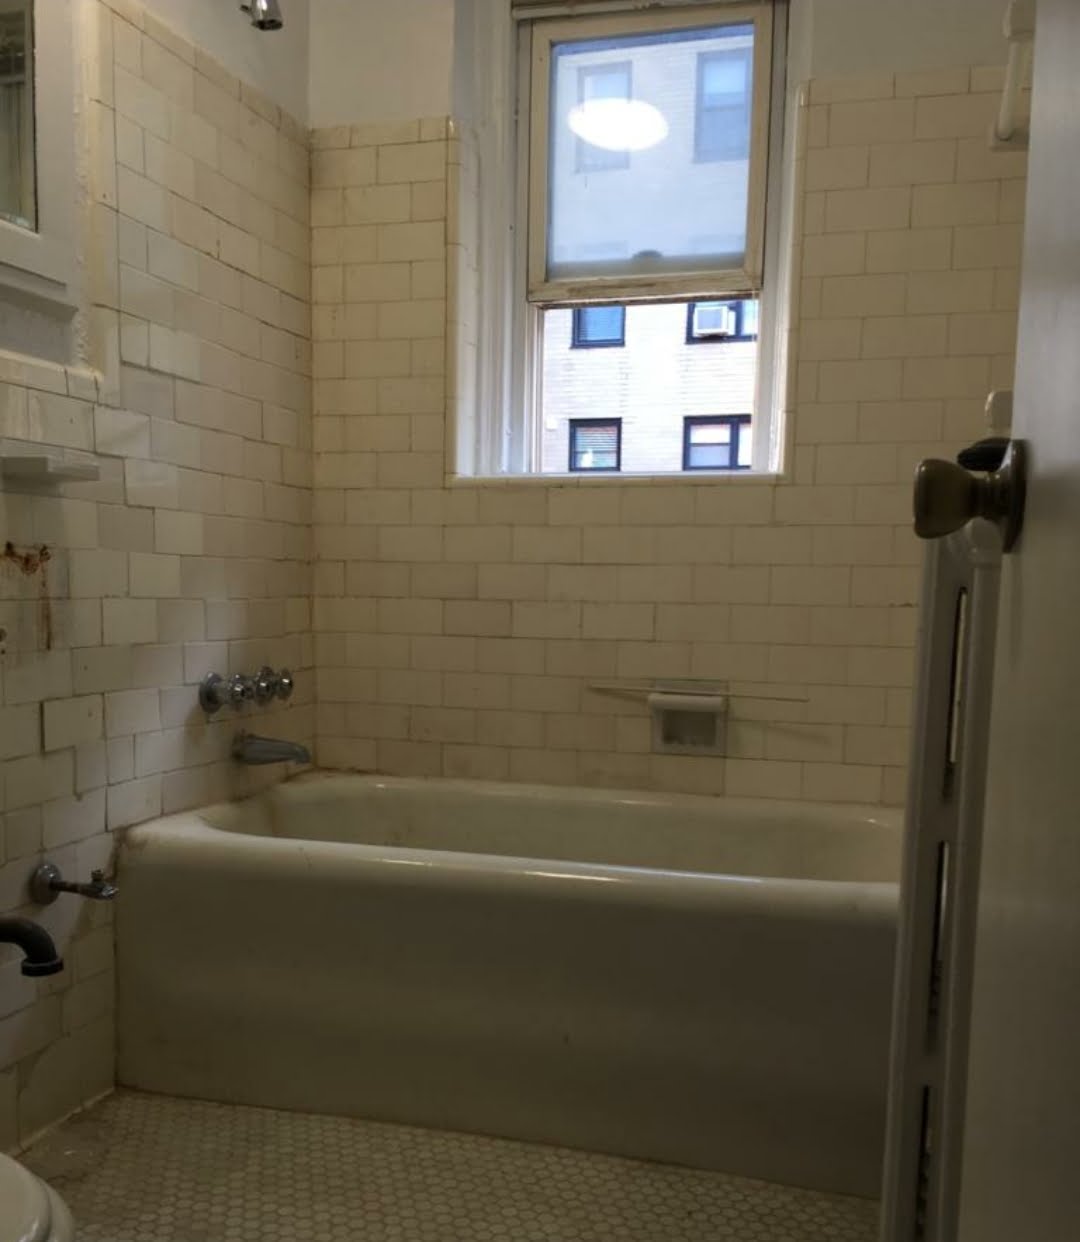
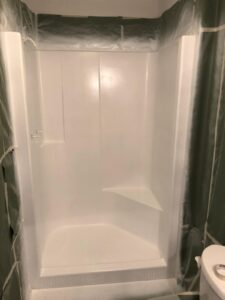
Transform Your Bathtub and Tiles with Reglazing
Did you know that you don’t have to be unhappy with the color of your bathtub and bathroom tiles? You can completely transform the look of them and say goodbye to an outdated color once and for all by having the tub and tiles refinished. And best of all? It is affordable.
Want to know how to do it? We will teach you what you need to do below.

Products Needed for Tub and Tile Reglazing
Below, you will find a list of the supplies and products that you will need to refinish and change the color of your tub and tiles.
- Safety glasses
- Respirator
- Gloves
- Roller brush
- Foam brushes (various sizes)
- Wire brush
- Sandpaper (400 to 600 grit)
- Sander
- Utility knife
- Tarp or covering
- 5-in-1 painter’s tool
- Cleaner for the tub and tiles
- Painter’s tape
- Caulk remover
- Refinishing and color kit
Steps to Recolor Your Bathroom Tub and Tiles

Step 1: Get the Tub and Tiles Ready
In this step, you will get your tub and tiles ready for the job to be performed. This means you will want to thoroughly clean and scrub the tub and tiles to remove any stuck-on debris, stickers, adhesive tread, or anything else that may be present.
Step 2: Remove the Grout
Now, it is time to remove the grout from the tub and tiles. To do this, you will apply the caulk remover to all the grout lines around the tiles and tub.
Allow the remover to sit for a few minutes and then take your utility knife and score the edges of the caulk lines. Utilize your 5-in-1 tool and remove all grout.
Step 3: Sand the Tub and Tiles
When the caulk is all removed, you will sand down the tub and tiles utilizing your sander and sandpaper. You may need to sand these areas a few times until they are smooth.
Step 4: Protect Your Fixtures and Border
Take the time to protect your fixtures and tile border with painter’s tape. This will help protect the fixtures and keep them and the border from being colored during the repainting process.
If you prefer, you can simply tape off the tile border and remove all your fixtures.
Step 5: Mix the Reglazing Kit
Wearing your protective gear (gloves, respirator, and safety glasses), mix the reglazing kit and utilize the chosen color.
Do make sure to stir well so that you have an even color on all tiles and the tub once you are done.
IMPORTANT: Ventilate the area you are working in!
Step 6: Apply the First Coat and Subsequent Coats
Apply your first coat of the reglazing product to your tub and tiles using your roller brush. You can use your foam brushes around any areas that are difficult to reach such as the corners of the tub.
Allow an hour to pass (or the recommended time on the product) and then apply a second coat to your tub and tiles.
Step 7: Inspect and Make Adjustments
Inspect your tub and tiles and look for any issues that may be present. If you notice any uneven areas or rough areas, sand them down.
Once adjustments have been made, apply a third and sometimes fourth coat to the tub and tiles, as needed.
Step 8: Allow to Dry and Cure
After you apply your last coat, allow the tub and tiles to dry and cure.
Let Our Team Help You Reglaze Your Tub and Tiles

If you are not keen on the idea of reglazing your tub and tiles on your own, our team can help. At Connecticut Reglazing, we specialize in transforming the look and color of your tub and tiles in a single day. Give us a call today to learn more about how we can help you fall in love with your bathroom again!